Real Estate Agent Photo Shoot: Essential Guide for Effective Property Marketing
Importance of Professional Real Estate Photos
In the competitive real estate market today, high-quality visual content has become a cornerstone of successful property marketing. Simultaneously, it plays a critical role in shaping a real estate agent's brand image. Well-crafted images not only capture the property's best features but also evoke emotional responses from prospective buyers, encouraging them to schedule viewings and make offers. Clear, bright, and professionally styled photographs help listings stand out across online platforms, print materials, and social media, leading to increased visibility and faster sales. Investing in a professional real estate photo shoot ensures that each property is showcased in the best possible light. Photographers utilize advanced equipment, strategic lighting, and editing techniques to highlight the spatial dimensions, architectural details, and unique selling points of each home. This attention to quality contributes directly to attracting serious buyers who value clarity and professionalism in property presentation. Furthermore, high-quality images strengthen an agent’s credibility within the real estate community. They signal dedication, expertise, and a commitment to excellence, which can foster trust and build long-term client relationships. As a result, professional photography not only boosts individual listings but also enhances the overall reputation of the agent and their agency. Properly executed real estate photos also facilitate better online engagement. Listings with eye-catching visuals are more likely to garner clicks, shares, and saves, thus increasing the property's exposure. This amplification can effectively accelerate the sales cycle and optimize marketing budgets. Ultimately, a strategic approach to photography—beginning with a photographer skilled in real estate imaging—serves as a vital asset in any comprehensive property marketing plan.
Preparing for the Photo Shoot
Preparation is key to achieving optimal results during a real estate agent photo shoot. Prior to the scheduled session, a thorough assessment of the property is necessary. This includes decluttering spaces, depersonalizing interiors, and ensuring that all areas are clean and well-maintained. Small details, such as polished fixtures, fresh linens, and strategic furniture arrangement, can influence how spaces are perceived in photographs. Scheduling the shoot during the daytime ensures access to natural light, which enhances the ambiance of each room. Open curtains and windows to allow sunlight to fill the space, creating a warm and inviting atmosphere. Attention should also be given to staging—arranging furniture and decor to accentuate the property's strengths without overcrowding. Furthermore, coordinating with the photographer in advance helps establish a clear plan. Discussing shot lists, preferred angles, and focal points ensures that expectations are aligned. It's also beneficial to prepare a checklist of key features such as kitchens, bathrooms, master bedrooms, and outdoor spaces, ensuring these elements are highlighted in the session. Lastly, addressing minor repairs or touch-ups beforehand can prevent the need for extensive editing later. Small fixes, such as repainting scuffed walls or replacing burnt-out bulbs, contribute to achieving a polished and professional appearance in the final images.
Choosing the Right Photographer and Studio
Selecting a skilled photographer with professional experience in real estate imaging is essential for achieving high-quality results. Look for photographers who specialize in architectural and property photography, as they possess the expertise to capture the property's best features with proper lighting, angles, and composition. Review their portfolios to ensure their style aligns with your marketing goals and that they are capable of delivering consistent, professional images.
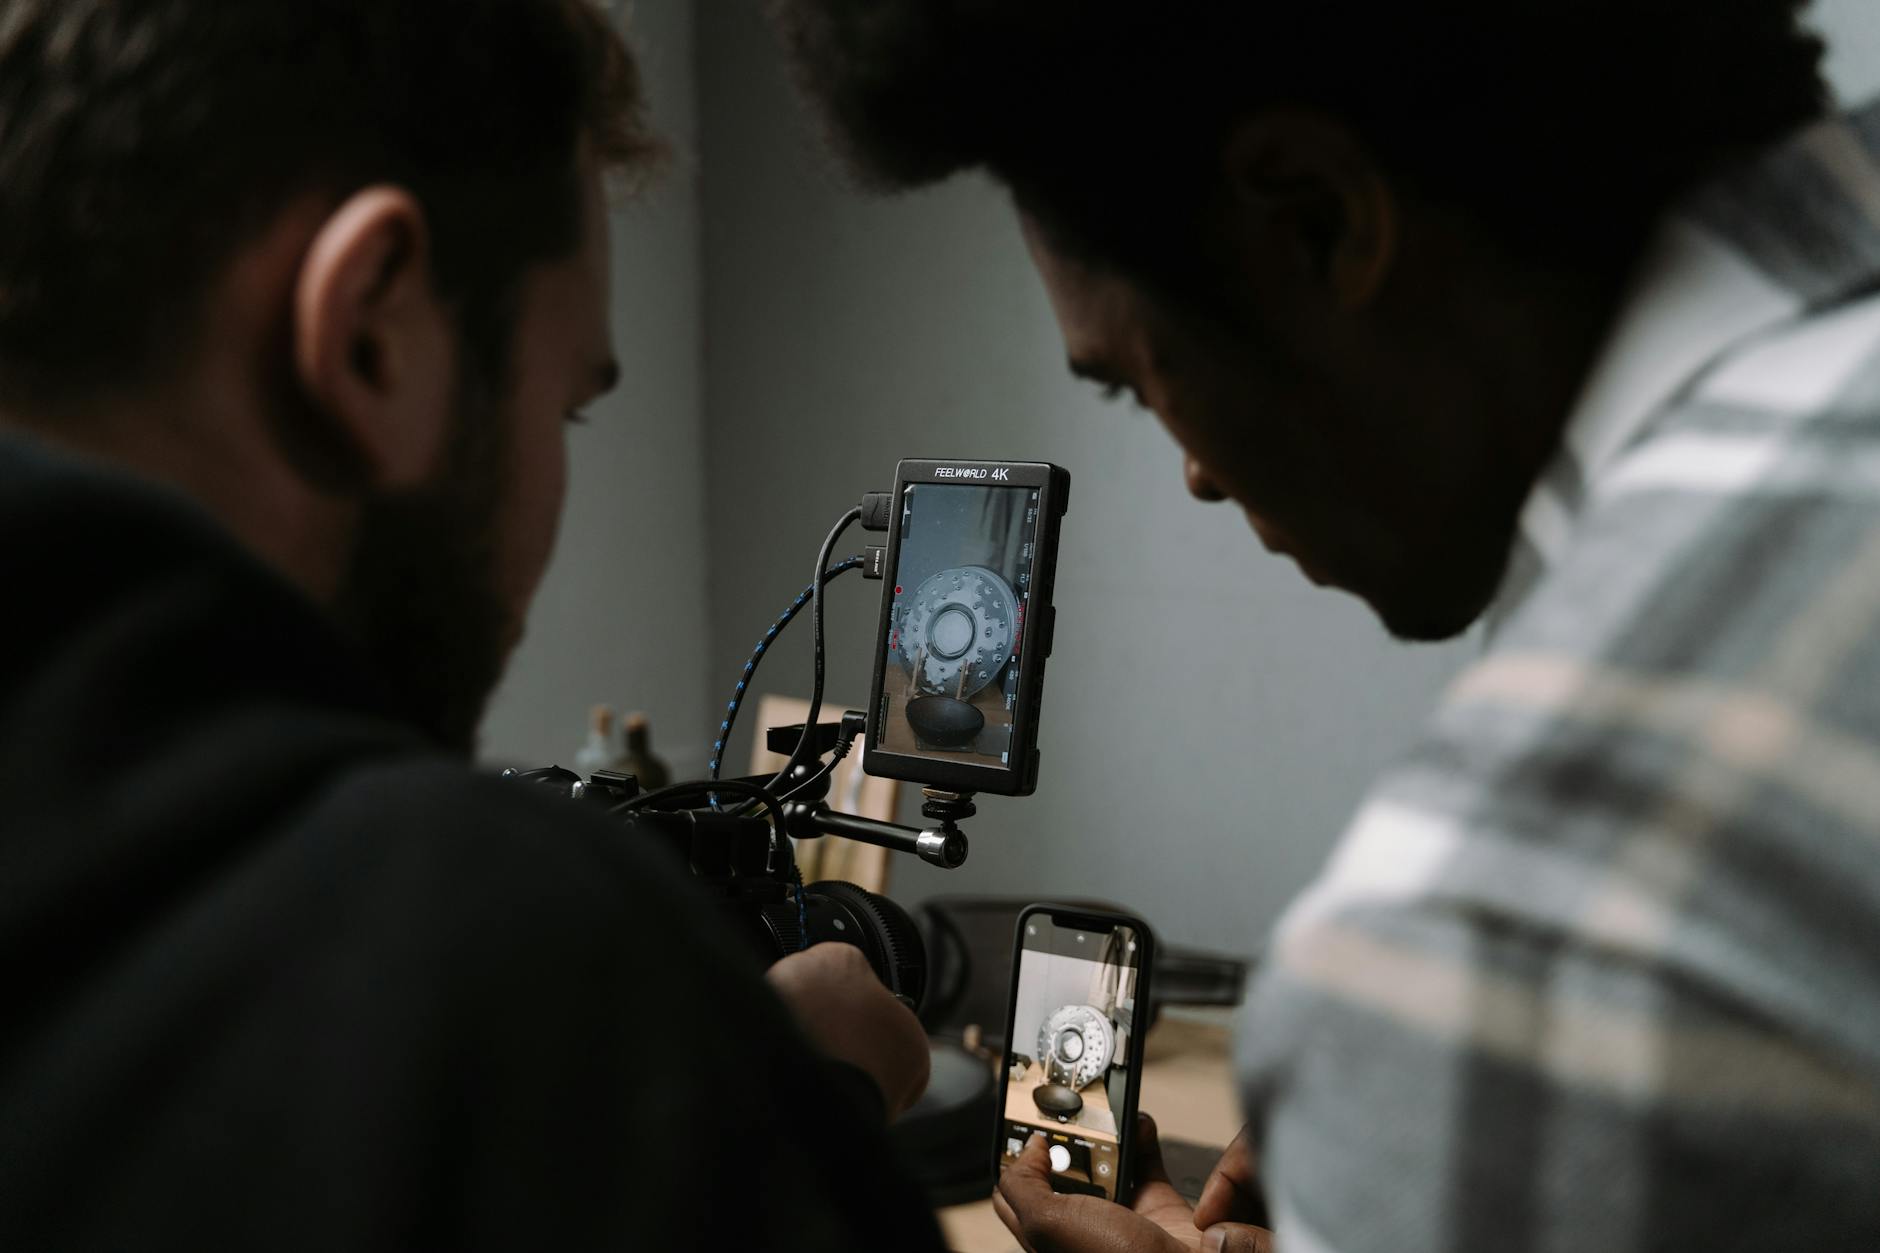
When evaluating potential photographers or studios, consider their familiarity with the latest camera equipment, lighting techniques, and editing software. State-of-the-art tools can significantly impact image clarity, color accuracy, and overall visual appeal. Responsive communication, clear understanding of your needs, and a flexible schedule also contribute to a smooth shooting process.

Opting for a studio or a professional photographer with a dedicated workspace can streamline the process and ensure optimal conditions. In some cases, on-location shoots require portable lighting and specialized equipment to handle varied lighting scenarios. Ensure that the chosen professional is equipped to handle the specific demands of real estate shoots, such as capturing both interior and exterior shots effectively.
Establishing a clear agreement on deliverables, turnaround times, and rights to the images is critical. Discuss the number of photos included in the package, options for additional shots, and preferences for post-processing styles. Clarifying these details upfront minimizes misunderstandings and ensures a seamless workflow from shoot to delivery.
Optimal Timing and Lighting
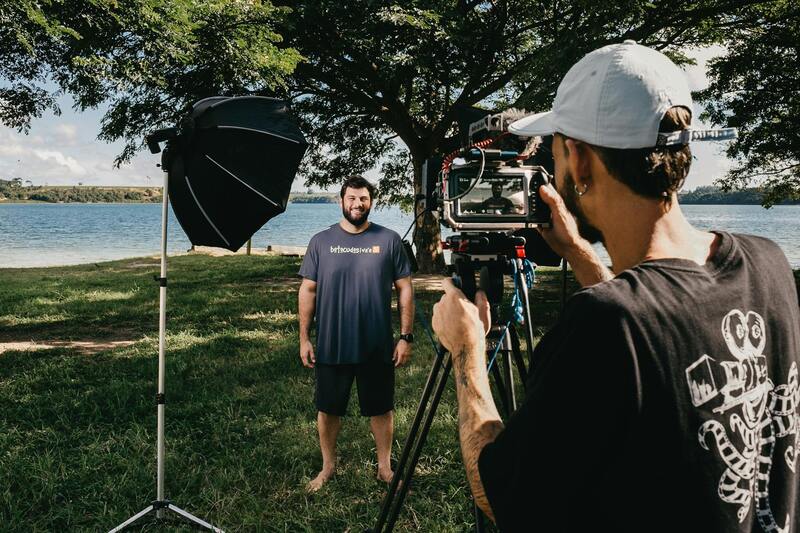
Scheduling your real estate agent photo shoot at the right time of day is essential to capture the property in its best light. Typically, the golden hours—shortly after sunrise or before sunset—offer soft, warm lighting that enhances outdoor features and creates a welcoming atmosphere. Natural light can accentuate architectural details and highlight the property’s curb appeal, making it more attractive in listings.
For interior shots, ensuring that the property is well-lit is crucial. If natural light is limited, professional photographers often use high-quality artificial lighting solutions to illuminate spaces evenly. Proper lighting eliminates shadows, reduces glare, and produces vibrant, true-to-color images that accurately represent the property. This is particularly important in regions like Miami, where the lush exterior features and bright skies can be accentuated with optimal light.
Photographers also consider weather conditions to optimize shot quality. Overcast days provide diffuse light that minimizes harsh shadows and glare, ideal for interior shots and exterior features with reflective surfaces. Clear, sunny days tend to generate a lively, energetic feel that benefits exterior visuals, but additional shading or reflectors might be used to balance sunlight and prevent overexposure.
In planning the timing, coordinate with the property owner to ensure spaces are tidy and accessible. Moving furniture or adjusting window coverings to maximize natural light can make a significant difference in the final images. Additionally, pre-shoot preparations include securing necessary permissions, clearing clutter, and staging key areas to present the property in the most appealing way.
Ensuring flexibility in scheduling accommodates any unexpected weather changes or lighting conditions. Professional photographers often have experience adjusting their workflow to optimize results regardless of the weather, utilizing supplemental lighting or shooting at alternative times if needed. Ultimately, aligning shoot timing with optimal lighting conditions produces images that are vibrant, inviting, and highly effective for marketing purposes.
Effective Techniques for a Successful Real Estate Agent Photo Shoot
Maximizing Natural Light for Stunning Images
Natural lighting plays a crucial role in producing high-quality real estate photographs that captivate potential buyers. Timing the shoot during the golden hours—early morning or late afternoon—ensures soft, warm light that enhances the property’s features. Shooting during these periods minimizes harsh shadows and glare, which can obscure details or create unflattering reflections on windows and surfaces.
Overcast days provide diffuse light that evenly illuminates interior and exterior spaces, reducing the risk of overexposure and deep shadows. This consistent lighting makes textures and colors pop, resulting in images that are both authentic and inviting. For properties with large windows or reflective surfaces, adjusting the camera angles to minimize unwanted reflections and glare is essential. Whether employing natural light or supplementary lighting tools, the goal is to showcase the property in the most flattering and true-to-life manner.
Addressing Weather Conditions and External Factors
Weather can significantly impact the quality of real estate photography. Clear skies and bright sunlight tend to energize exterior shots, giving the property a lively appearance that appeals to viewers. Conversely, overcast conditions produce a softer, more even light suitable for interior shots, especially when showcasing details without harsh shadows.
Photographers adept at real estate imagery often plan their shoots around weather forecasts, choosing days when lighting conditions are optimal. In cases of inclement weather, supplemental lighting equipment such as reflectors and diffusers can help achieve desired effects. For exterior shoots, scheduling during periods of minimal wind ensures the property appears neat and well-maintained, free from distractions like moving trees or fluttering curtains.
Preparing the Property for Photography
Ensuring the property is spotless and well-staged is fundamental to creating compelling visuals. Remove clutter from key rooms, tidy outdoor spaces, and arrange furniture thoughtfully to highlight the best features. Adjust window coverings to maximize natural light, and consider adding decorative touches to make spaces more inviting. Curb appeal should be optimized through landscaping, weed removal, and clean façades, establishing a strong first impression for prospective clients.
Coordinating the Shoot Timeline
Effective planning involves aligning the shooting schedule with optimal lighting conditions and tenant or owner availability. Flexibility is essential to accommodate unexpected weather changes, which can be mitigated by adjusting the timing or utilizing supplemental lighting. Prior communication with the property owner ensures that spaces are accessible and ready, streamlining the process for the photographer and reducing delays.
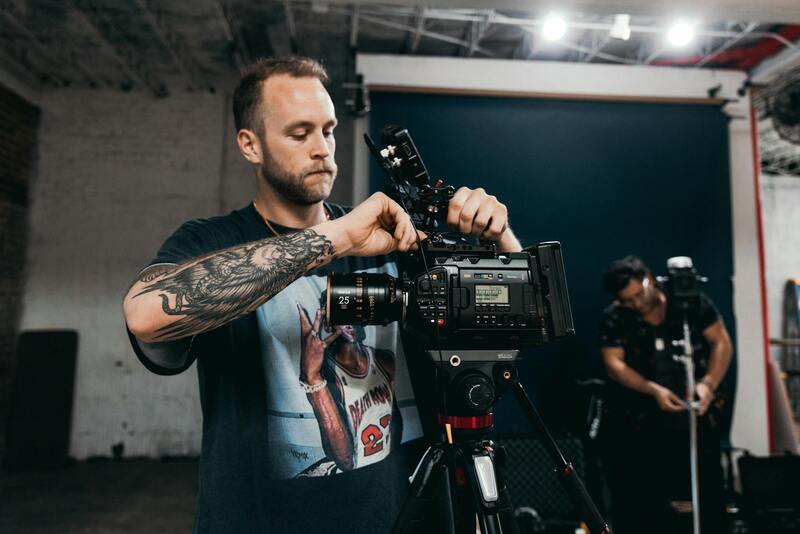
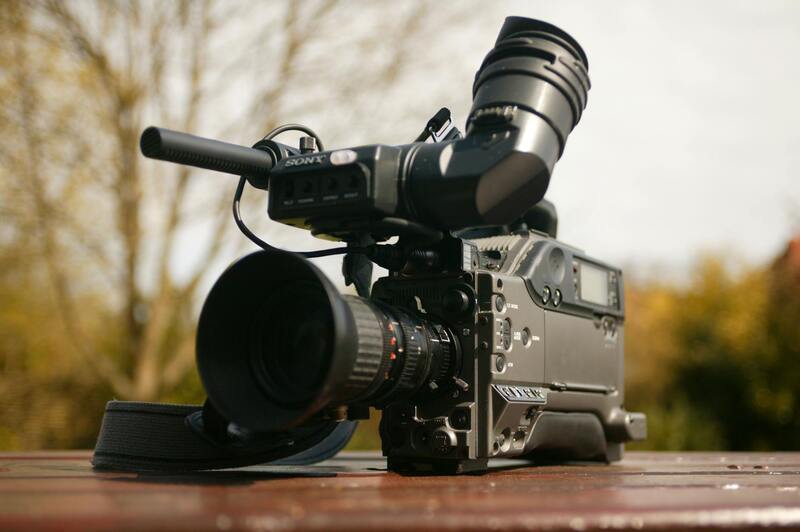
Technical Preparation and Equipment
Professional real estate photographers leverage high-quality cameras, wide-angle lenses, and tripod stabilization to capture expansive, distortion-free images. Additional equipment like drone cameras may be used for aerial shots of large properties or outdoor amenities, providing a comprehensive view for potential buyers. Proper camera settings—such as aperture, ISO, and shutter speed—are calibrated based on lighting conditions to ensure sharp, vibrant images without noise or blurring. Employing a consistent shooting approach across different properties helps maintain branding standards and creates a cohesive visual portfolio.
Conclusion
Achieving the best results in a real estate agent photo shoot depends on meticulous planning, expert use of lighting, and property preparation. By understanding how to harness natural conditions, address weather influences, and prepare spaces effectively, agents can secure compelling visuals that elevate their listings and appeal to prospective buyers. The right approach ensures that each property is presented in its best light, fostering increased engagement and faster sales.
Optimal Timing and Lighting
Securing the ideal timing for a real estate agent photo shoot is crucial to capturing images that resonate with potential buyers. The most favorable natural lighting occurs during the golden hours—shortly after sunrise and just before sunset—when sunlight imparts a warm, inviting glow. Scheduling shoots during these periods can significantly enhance the visual appeal of both interior and exterior shots, highlighting architectural features and outdoor amenities.
While natural light forms the foundation of compelling imagery, understanding and adapting to weather conditions is equally important. Clear, sunny days provide vibrant, well-lit images, but overcast weather can be advantageous, producing diffused light that minimizes harsh shadows and highlights. Flexibility in scheduling allows photographers to optimize conditions, ensuring consistent quality across different properties.
Indoor lighting plays a pivotal role, particularly in spaces with limited natural sunlight. Professional photographers often supplement existing light with high-quality artificial sources such as softboxes, LED panels, and studio flashes. These tools help balance interior lighting, prevent dark corners, and create a bright yet natural ambiance.
For larger properties or outdoor areas, additional equipment like drone cameras can be employed to capture expansive views or aerial perspectives. Drones offer dynamic shots that showcase property size, landscaping, and surrounding environment, providing prospective buyers with comprehensive visual information.
Effective use of lighting is complemented by meticulous attention to the timing of the shoot. Proper planning ensures each scene is illuminated optimally, reducing the need for extensive post-editing. This approach saves time and results in images that authentically represent the property's best features.
Optimal Timing and Lighting
In the realm of real estate photography, scheduling the photo shoot during optimal lighting conditions significantly impacts the quality of the images. The best times for capturing properties are typically during the golden hours shortly after sunrise or before sunset, when natural light is soft, warm, and diffused. This lighting creates inviting, aesthetically pleasing images that highlight the property’s best features and evoke emotional responses from potential buyers.
Flexibility in scheduling allows photographers to adapt to weather conditions and seasonal changes. Overcast days, while lacking direct sunlight, offer even, shadow-free illumination that can diminish distractions and emphasize details within interiors and exteriors. Conversely, harsh midday sunlight often produces strong shadows and overly bright highlights, which can distort the appearance of space and texture. Planning shoots during the early morning or late afternoon ensures that natural light enhances the property's visual appeal rather than detracting from it.
Artificial lighting within indoor spaces must be meticulously balanced to complement available natural light. Professional photographers utilize tools like softboxes, LED panels, and studio flashes to produce a consistent, natural-looking illumination that minimizes shadows and highlights. The goal is to achieve a balanced, inviting ambiance that accurately represents the property's interior conditions. Proper lighting setup requires understanding the unique characteristics of each space, including ceiling height, window placement, and existing light sources, to enhance visual harmony.
For larger properties or outdoor scenes, specialized equipment such as drone cameras provides aerial perspectives and panoramic views. These captures showcase landscaping, property boundaries, and surrounding scenery, giving buyers a comprehensive understanding of the property's size and environment. Drones add dynamic visual interest and support immersive virtual tours, which are increasingly valued in today’s real estate market.
Strategically planning the timing of the shoot prevents the need for excessive post-editing, reduces costs, and ensures the images authentically mirror real-life conditions. This proactive approach is essential for creating compelling visual assets that drive engagement and attract qualified leads.

Optimal Timing and Lighting
Achieving the perfect real estate photos begins with strategic timing and lighting considerations. The time of day plays a crucial role in capturing images that highlight the property's best features while creating an inviting atmosphere. Photographers often schedule shoots during periods when natural light is abundant and evenly dispersed, typically during early morning or late afternoon hours, known as the golden hours. During these times, the sunlight infuses the space with a warm, welcoming glow, minimizing shadows and emphasizing architectural details.
In addition to natural light, controlled artificial lighting is indispensable for achieving balance and consistency across all images. Carefully positioned softboxes, LED panels, and studio flashes are used to fill in shadows, illuminate darker areas, and enhance overall brightness without overwhelming the scene. This ensures that interior features, such as cabinetry, countertops, and decorative elements, are clearly visible and accurately represented.
Understanding the specific lighting conditions of each space is fundamental. For example, rooms with large windows benefit from the use of reflectors and diffusers to control sunlight exposure and avoid harsh glares. Conversely, spaces with limited natural light may require supplementary artificial lighting to prevent dark, uninviting images.
Timing also relates to external factors, such as weather conditions and seasonal changes. Overcast days provide diffused light that softens shadows, ideal for interior shots, while clear, sunny days enhance exterior visibility and landscape features. Planning the shoot weather forecast in advance helps photographers select the most advantageous days, minimizing the need for extensive post-processing adjustments.
In summary, combining ideal timing with expert lighting techniques ensures that property images reflect their true beauty and function. These elements not only enhance visual appeal but also establish trust and transparency with prospective buyers. When executed correctly, lighting and timing convert ordinary spaces into captivating visuals that effectively attract qualified leads and facilitate faster sales.
Utilizing Property Photos Effectively in Marketing Strategies
High-quality, professionally captured real estate photos are a cornerstone of successful property marketing. When these images are used thoughtfully across various channels, they significantly increase listing visibility, attract qualified buyers, and accelerate sale processes. It’s essential for real estate professionals and property owners to understand how to leverage these visuals optimally.
Integrating Photos into Listing Platforms
Property photos should be prominently featured on all listing platforms. This includes not only the primary MLS (Multiple Listing Service) but also popular online marketplaces and real estate websites. Using a diverse set of images that showcase different angles, room layouts, and outdoor features ensures potential buyers gain a comprehensive understanding of the property. High-resolution images allow viewers to zoom in for detail, fostering confidence in the property’s condition and features.
Enhancing Digital Marketing Campaigns
- Social Media: Sharing visually appealing images on platforms like Instagram, Facebook, and LinkedIn reaches a broad audience. Curated photo galleries and targeted ads utilizing professional images can drive more engagement and inquiries.
- Email Campaigns: Including a selection of high-quality photos in email newsletters increases open rates and click-through rates. Well-crafted visual content highlights the unique selling points of each property.
- Virtual Tours and 3D Visualizations: Pairing photos with virtual walk-throughs, 3D models, or augmented reality experiences offers an immersive viewer experience. These tools attract remote buyers and provide a detailed perspective that static images alone cannot achieve.
Printed Materials and Signage
While digital marketing dominates, printed brochures, flyers, and signage remain effective. Professional photographs lend a polished look to print materials, making property details more compelling. High-quality images on signage also attract foot traffic during open houses or walk-by inquiries.
Building Trust and Transparency
Authentic visuals create a sense of transparency and build trust with prospective buyers. When images accurately reflect the property's current condition and features, it reduces mismatched expectations, leading to more serious inquiries and fewer renegotiations. Clear, detailed photographs can also serve as a basis for negotiations, as buyers feel more informed and confident about their potential purchase.
Tracking and Analyzing Marketing Effectiveness
Regular analysis of how property images perform across different channels helps refine marketing strategies. Metrics such as engagement rates, click-throughs, and inquiries can indicate the effectiveness of your visual content. Adjustments, such as updating images or enhancing their quality, can lead to improved results and faster sales cycles.